Latest Posts
How To Turn Your Garage Into A Workshop 2
Even if you’re edging toward just having the space required, it’s amazing what some shelving and organisation can do for space. There are plenty of ways to maximise your space regardless of the size, just follow these five steps.
1. Clean up your act
Starting with the basics, your first step should be to clear out as much as you can from the garage. Organisation is your friend here, so identify what is essential to keep in the garage and keep them in specific space, either a box or a shelf, to keep them in the one place.
1.5. Epoxy is your friend
A mini half-step here. You might want to consider using epoxy floor finish to coat your garage floor if you’re going to be doing heavy duty work. Regular concrete is good, but it can chip or discolour a lot easier without it.
2. Designate spaces
Next up, you need to differentiate spaces between your intended purposes (people with a single use garage can skip this one). Split up use between residential storage, your car, your new workshop, and any other hobbies or major space investment areas.
Splitting up your space is an often overlooked, but very important step. It allows you to commit to projects without having to constantly find new room, and prevents things from constantly getting in the way of others.
With a little forward thinking, you can even combine certain areas. Tools can be wall-racked, and equipment can be flat packed or stored under benches. Don’t forget to account for ventilation in your design too. It can be bad enough in a dusty garage before the sawdust starts flying!
3. Get a good workbench
A good workshop needs to include a sturdy, robust workbench, so make sure to at the very least design your space budget with one in mind. You’re going to be cutting, measuring and hammering on this surface, so anything that might possibly splinter or not hold up to some fairly strenuous activity won’t be suitable.
Wood is a good all rounder, but make sure that the type of bench that you get is applicable to all the types of things you envisage yourself doing on it. The important factor is the sturdiness.
If you’re building one on your own, you can design with your own specifics in mind; give it storage drawers or let it contour to save space.
As the ultimate space saver, check out a tutorial on how to build your own fold-out workbench. This allows you to fold up the majority of your workshop into a small slot on the wall. All you’ll need is some woodworking tools, some wood, and a couple of piano hinges from a homeware warehouse.
4. Electricity
Next, make sure that you’ll have access to any electrical outlets. If your garage lacks power sockets, it would be wise to invest in having professional install new access points, otherwise extension cords are a good substitute. Just make sure that you can run all your cabling safely to your area.
5. Tools and storage
Now this the fun part; the tools. Unfortunately, the fun part comes bundled with a new problem: where to store them. You lucky few with large garages can stop reading here; you’re done, and you can enjoy your new workshop! For the rest of us, you’re going to need some innovative storage solutions.
If you opted for a standard large bench, you can get a lot of your spatial needs just by slotting unused materials and tools under the bench.
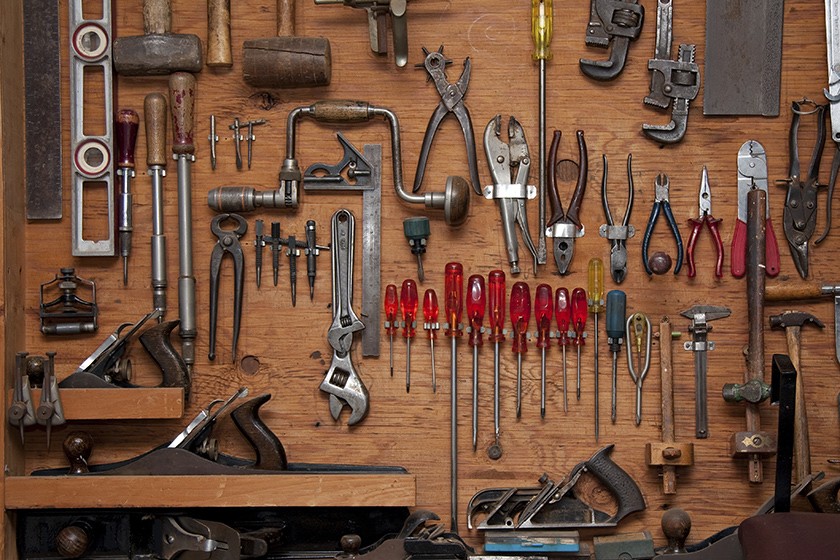
If that’s not an option, or if you went with the hanging bench, then why not double down on it with some hanging tools. For small tools, and even a couple of larger ones, wall-mounting is a great option. They’re accessible at a grasp, rather than trying to find them inside a mess toolkit. Sort out your tools, set them up, and you’re ready to start work!